How to Take Better Selfies for Professional AI Headshots
Garbage in, garbage out. Most disappointing AI headshots come down to a handful of fixable input mistakes — here are the rules that move the result from 'meh' to 'send to recruiters'.
AI headshot tools look like magic, but they're not. They're math working on the photos you feed them. The model doesn't invent your face — it learns your features from the selfies you upload, then draws those features into a polished portrait. Which means: the better your input, the better your output. Most disappointing results trace back to a handful of input mistakes that take five minutes to fix. This guide walks through the lighting, angles, expressions, backgrounds, and counts that consistently produce headshots people actually want to put on LinkedIn.
TL;DR — The 5-Minute Selfie Checklist
- Shoot near a big window during the day, not under ceiling lights or in direct sun
- Hold the phone slightly above eye level, with your face filling the upper half of the frame
- Use a plain wall — no patterned wallpaper, no busy bookshelves, no other people
- Capture 8–12 photos: front, slight 3/4 turn, both with and without a smile
- Wipe the lens, use the rear camera, turn off beauty filters, and shoot in good resolution
1. Lighting Is the Whole Game
If you only fix one thing, fix the light. Bad light is the single biggest reason AI headshots come back looking off — uneven skin tone, harsh shadows under the eyes, weird color casts that the model then bakes into every output. Photographers spend years learning to control light because it's where the bulk of a portrait's quality lives, and the same is true for the inputs you give an AI model.
- Best: stand 3–6 feet from a large window during daylight, facing the window
- Good: shoot outside in open shade (under a tree, on a porch, near a building)
- Avoid: direct overhead sun (raccoon-eye shadows) and direct noon sun (squinting)
- Avoid: standard ceiling LEDs and fluorescent office tubes (yellow-green skin tones)
- Cloudy day? Even better — clouds turn the whole sky into one giant softbox
If you only have artificial light available, get as close as you can to a window or a single soft lamp, and turn off other lights so the AI doesn't have to interpret three different color temperatures at once. The cleanest results come from one direction of soft, neutral light — not from being lit like a stage.
2. Angle and Framing
The phone position matters more than people think. Selfies shot from below — phone resting on a desk pointed up — emphasize chins and nostrils in unflattering ways. Selfies shot from way above flatten your face. The sweet spot is roughly at eye level or barely above, far enough that your hand isn't bending the perspective.
- Hold the phone slightly above eye level (your eyes should sit just above the frame's center)
- Keep your shoulders square or angled 15–20 degrees off-camera for dimension
- Push your forehead very slightly toward the lens — it defines the jawline
- Frame from mid-chest up, leaving a little headroom
- Take half the photos straight-on and half at a gentle 3/4 turn
3. Background: Boring Is the Goal
Your background's only job is to stay out of the way. The AI focuses on what's around your face when it learns your features, so a busy background actively wastes its attention. A blank wall, a plain door, a single-color curtain — anything uniform — gives the cleanest result. This is also the easiest fix on the list.
- Best: solid neutral wall (white, gray, beige, soft blue)
- Good: a closed door, a plain curtain, an empty hallway
- Avoid: bookshelves, art with faces or text, gallery walls, busy wallpaper
- Avoid: outdoor backgrounds with other people in them
- Crop tightly so the background occupies as little of the frame as possible
4. Expression: Practice Before You Shoot
The model copies the energy in your inputs. If every selfie has a tense, forced smile, every output will have a tense, forced smile — just rendered more cleanly. Recruiters can tell the difference between a photo of someone who's relaxed and a photo of someone enduring the photo.
A small, eyes-engaged smile beats a wide, all-teeth grin almost every time on professional platforms. It reads as confident rather than performative.
- Take a few breaths before you start; loose shoulders read in the photo
- Think of something genuinely funny right before pressing the button
- Shoot a mix: closed-mouth smile, soft open smile, neutral-but-warm
- Don't squint to look 'serious' — that's how you end up looking annoyed
- Avoid the same expression in every shot — variety helps the model
5. Camera and Phone Settings
Modern phone cameras are extraordinary tools that most people use at a fraction of their capability. A few tweaks before you shoot do a lot of work for free.
- Use the rear camera — it has higher resolution and better lenses than the selfie cam
- Wipe the lens with a soft cloth (a fingerprint smudge will end up on every output)
- Turn off built-in beauty filters and skin smoothing — they confuse the model
- Enable the grid overlay and use the rule of thirds to position your eyes
- Shoot at the highest resolution your phone offers (off the 'square' or 'portrait' preset)
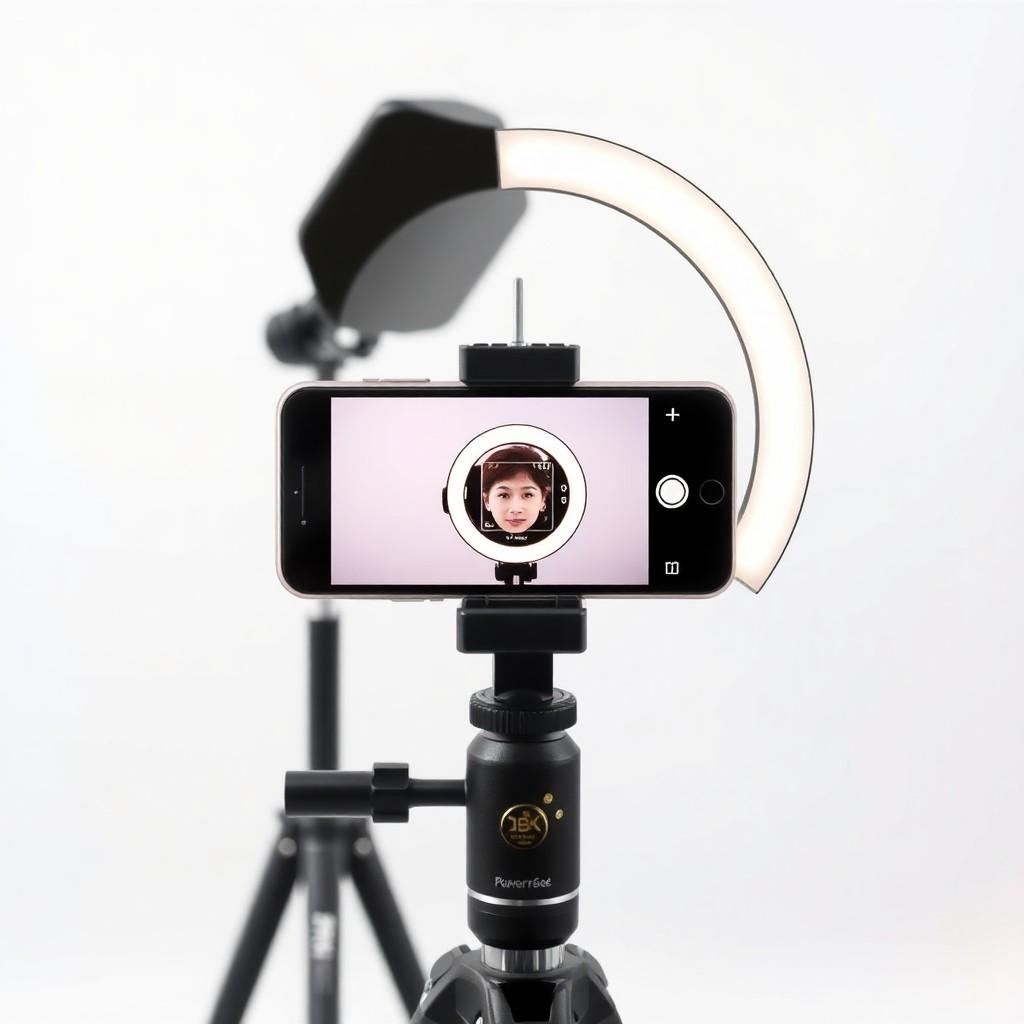
If you're using the rear camera, prop the phone on a stack of books or a tripod, set a 3-second timer, and walk back into frame. The result is dramatically better than any front-camera selfie because of the lens quality alone.
6. How Many Photos to Upload
More variety beats more quantity. Eight strong photos with different angles and expressions outperform twenty near-identical ones. The model needs enough information to recognize what's stable about your face (the shape of your nose, the line of your jaw) versus what's changeable (a smile, a slight head tilt). Repeating the same shot over and over teaches it nothing new.
- 3–4 head-on shots with slightly different expressions
- 2–3 shots with your face turned 15–20 degrees off-camera
- 1–2 three-quarter (3/4 view) photos showing more of one side
- Optional: 1–2 shots in different lighting if you have it
- All photos should show only you — no friends, pets, or sunglasses
Once you have your set, take five seconds to delete any obvious throwaways: blurry, heavily shadowed, or showing too much of the room. A small, tight, varied set is what you want.
Common Mistakes That Wreck the Output
- Uploading photos taken under harsh ceiling lights — the model learns those shadows
- Mixing photos taken years apart with a current haircut — confuses the feature mapping
- Including photos with sunglasses, hats, or heavy makeup not typical of your daily look
- Using filters or beauty modes that smooth your skin or change your face shape
- Shooting from extreme angles (phone on the floor, phone way overhead)
- Submitting only one or two selfies and expecting a full set of varied results
FAQ
Can I use old photos from my camera roll?
You can, but the result reflects the version of you in those photos. If your hair, glasses, or beard have changed since then, the AI will generate someone who looks like the older you. For headshots you'll actually use, take a fresh batch — it costs you 10 minutes and noticeably improves the output. The exception is if you genuinely want a 'this is how I looked at my last job' set, in which case older photos are fine.
Do I need a real camera or is a phone enough?
A phone from the last 4–5 years is more than enough. AI headshot models are trained on enormous datasets that include phone-camera photos, and the rear cameras on modern iPhones, Pixels, and Samsung Galaxies produce inputs that work beautifully. A DSLR can technically capture more detail, but it doesn't meaningfully improve the AI output. Your time is better spent on lighting and angles than on gear.
What about my glasses?
If you wear glasses every day, include them in every photo so the AI learns to render them. If you only wear them sometimes, mix it up — but be aware the output will reflect the mix. Glare on the lenses is the main thing to avoid: turn slightly away from the light source so the reflection moves off the lens. If you usually wear contacts in professional settings, leave the glasses off entirely.
Will makeup affect the result?
Wear what you'd wear to a job interview or a client meeting. The AI will essentially preserve the makeup level in your inputs, so heavy contouring in the selfies becomes heavy contouring in every headshot. Natural, daytime makeup translates best because it doesn't add 'noise' the model has to interpret.
Why do my outputs look like a slightly different person?
Almost always because the input set didn't have enough varied, well-lit shots from the front. The model needs to clearly see the geometry of your face. If most of your selfies were 3/4 angles or low-light, the model is filling in gaps by guessing. Re-shoot with 4–5 clean front-on photos under window light and the resemblance jumps dramatically. Once you have your selfie set dialed in, picking the right photo style for your industry is the next lever.
From Better Selfies to Better Headshots
If you've made it this far, you already know more about feeding an AI headshot model than most people who use one. The pattern repeats across every platform: window light, plain background, varied angles, no filters, eight to twelve photos. That's the recipe. If you want to see how the underlying technology turns those inputs into final portraits, our explainer on how AI headshots actually work walks through the steps. And if you're wondering whether AI is even the right call for your use case, our comparison with traditional photographers breaks down where each option wins.